8 Best Graphic Design Tools for Designers in 2026
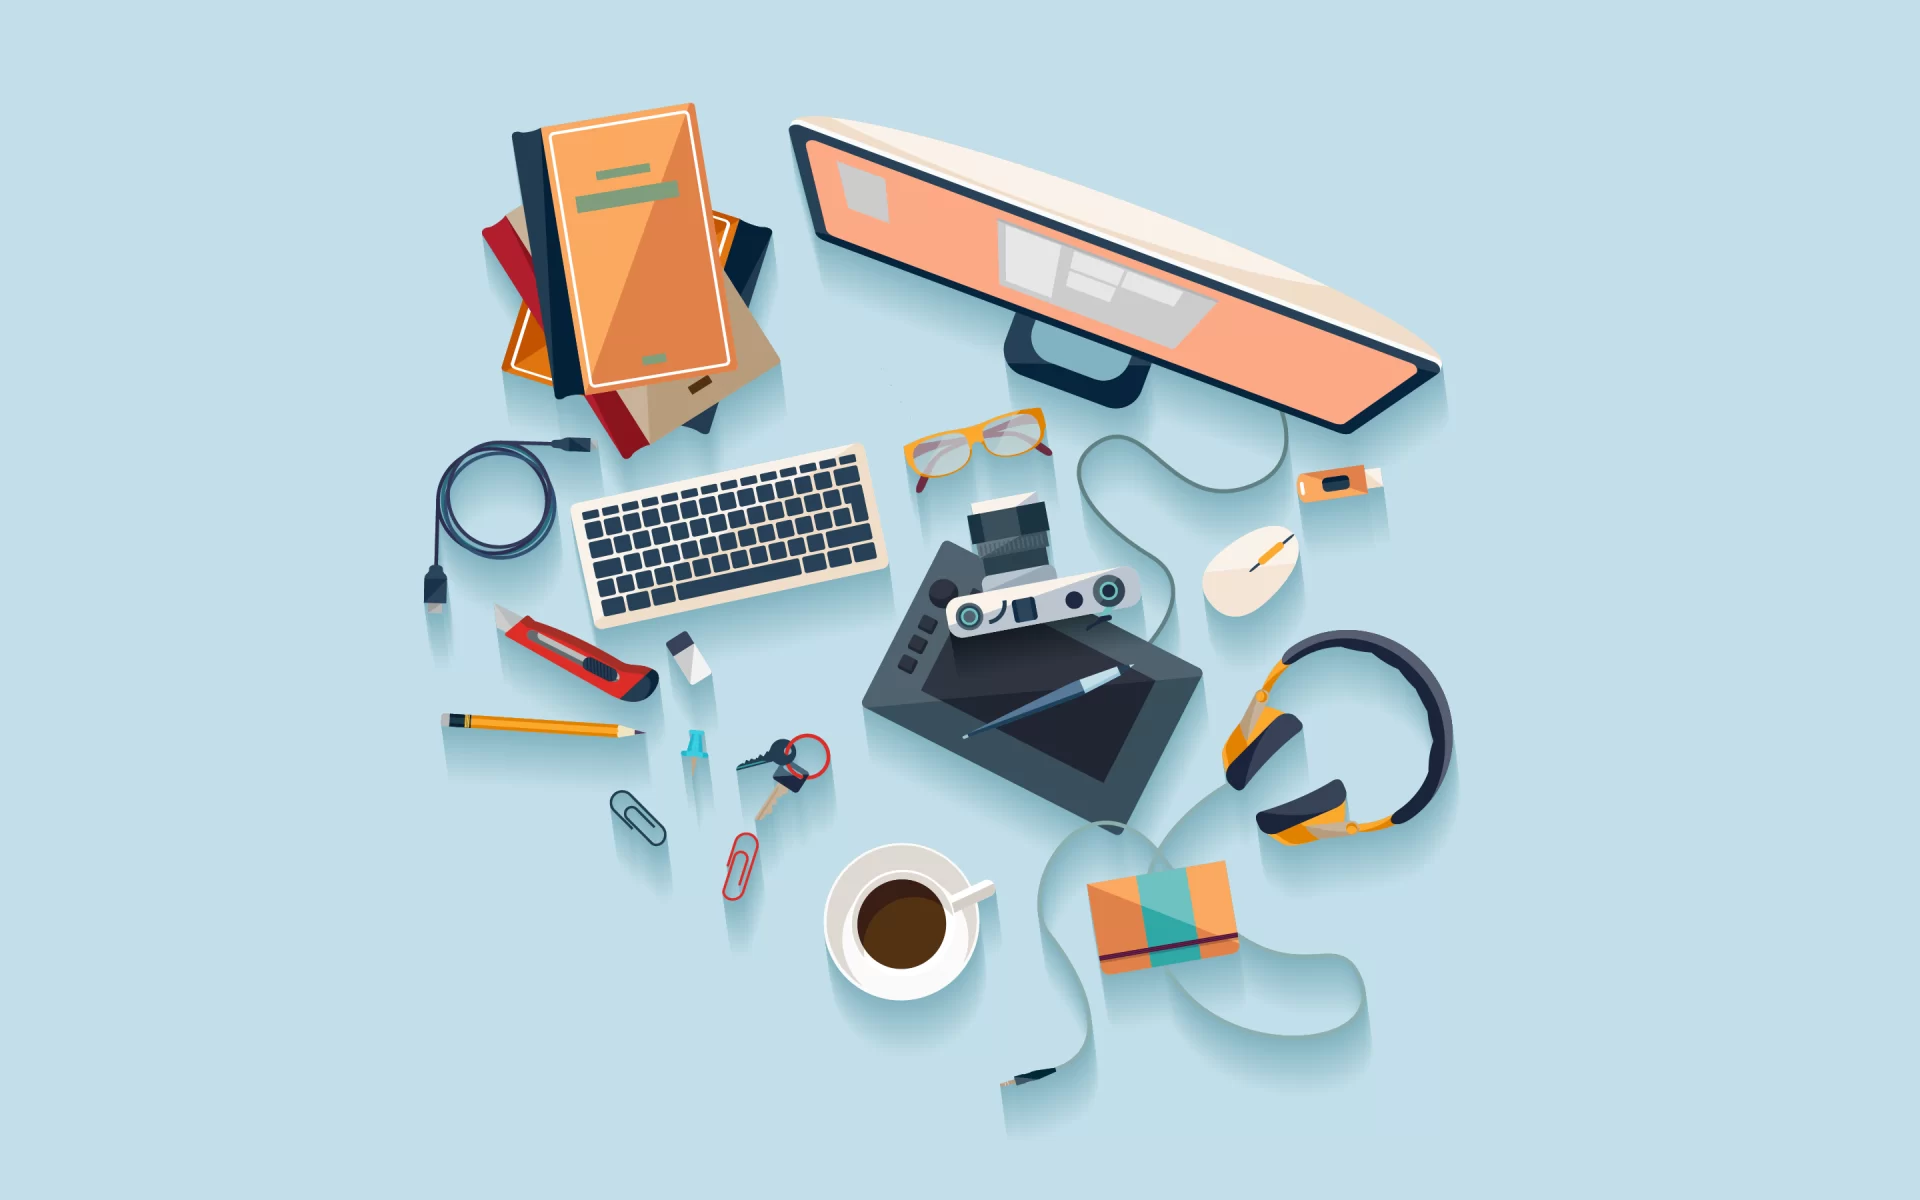
Graphic design is the practice of combining typography, imagery, color, and layout to communicate an idea or message visually. It shows up everywhere: advertising, publishing, web and app design, branding, and entertainment all depend on people who can translate an abstract idea into something visually clear and effective. The tools a designer reaches for shape a lot of what is possible in that process, and the landscape of those tools has shifted meaningfully over the past couple of years, with pricing models changing at some of the biggest names in the category.
Here are eight tools genuinely worth knowing, checked against each vendor’s current site for pricing and ownership, since a couple of major changes in this space are recent enough that older roundups still get them wrong.
1. Adobe Creative Cloud
Adobe Creative Cloud remains the industry standard subscription suite covering graphic design, photography, video editing, and web design in one bundle. Photoshop, Illustrator, and InDesign, the three applications most graphic designers reach for daily, are all part of the suite, alongside dozens of other specialized applications for video, audio, and 3D work.
Creative Cloud is subscription-based, with individual, business, and education pricing tiers, and subscribers get continuous updates rather than periodic paid version upgrades. Its scale and the sheer depth of tutorials, plugins, and trained professionals built around it keep it the default choice for a large share of professional design studios and agencies, even as genuinely capable free and lower-cost alternatives have improved significantly in recent years.
2. CorelDRAW
CorelDRAW, developed by Corel Corporation, is one of the longest-running alternatives to Adobe Illustrator and remains a strong vector graphics editor for illustration, layout, and general vector design work. It includes deep color management tools, support for spot colors and custom palettes, and a mature feature set built up over decades of continuous development.
Unlike Creative Cloud, CorelDRAW is available through a one-time purchase license as well as a subscription option, which makes it an appealing choice for designers who prefer to own their software outright rather than pay indefinitely. It runs on both Windows and macOS.
3. Affinity (Formerly Affinity Designer, Photo, and Publisher)
This is the biggest change in this category in the past two years, and it is worth understanding clearly: Affinity, previously sold by Serif Ltd. as a one-time-purchase alternative to Adobe’s apps, was acquired by Canva and has since become genuinely free. Every core tool across Affinity’s Pixel, Vector, and Layout studios, replacing the previously separate Photo, Designer, and Publisher applications, is now available at no cost, with no feature restrictions on the core application.
Using Affinity now requires signing in with a Canva account, which is also free to create. Optional AI-powered features are gated behind a paid Canva subscription, but the complete design application itself carries no charge. This is a meaningful shift for anyone who assumed Affinity was still a paid, one-time-purchase product, since that pricing model no longer applies. It remains available for Windows and macOS.
4. Procreate
Procreate is a raster graphics and digital painting application built specifically for iPad and iPhone, widely used by illustrators, concept artists, and digital painters. Its interface is built around Apple’s touch and Apple Pencil input in a way that makes it feel native to the device rather than a desktop application ported to a tablet.
Procreate uses a one-time purchase model through the App Store rather than a subscription, and its developer ships frequent free updates adding new brushes, tools, and performance improvements. For anyone doing illustration or concept art primarily on an iPad, it remains one of the most capable and well-regarded options available on the platform.
5. Adobe InDesign
Adobe InDesign is the professional standard for desktop publishing and layout design, used to build magazines, brochures, books, interactive PDFs, and other print and digital publications that require precise control over typography and multi-page layout. Its strength lies specifically in handling long, structured documents with consistent styling across many pages, which is a different problem than single-canvas illustration or photo editing tools are built to solve.
InDesign is part of the Adobe Creative Cloud subscription and integrates tightly with Photoshop and Illustrator for a workflow that moves smoothly between layout, imagery, and vector graphics within a single publication.
6. Sketch
Sketch is a vector-based design and prototyping tool built specifically for user interface and user experience design on macOS. It has become one of the standard tools in UI and UX design workflows, particularly for web and mobile app interfaces, thanks to features built around responsive design, reusable components, and design systems.
Sketch is developed by Sketch B.V., an independent Dutch company, and remains independently owned rather than part of a larger design or prototyping conglomerate. It positions this independence as a deliberate choice, emphasizing control over its own pricing and privacy decisions rather than being folded into a larger platform. It is available exclusively on macOS, which remains its most significant limitation for teams with mixed operating systems.
Raster Versus Vector: Why The Distinction Still Matters
A surprising number of design questions come down to a single underlying decision most beginners never get explained clearly: whether the work should be built as raster or vector graphics. Raster tools, Photoshop, Affinity’s Pixel studio, and Procreate, work with pixel grids, which is the right approach for photography, digital painting, and anything where fine tonal detail matters more than infinite scalability. Vector tools, Illustrator, Affinity’s Vector studio, CorelDRAW, and Sketch, work with mathematical paths and shapes, which is the right approach for logos, icons, and layouts that need to scale cleanly from a business card to a billboard without any loss of quality.
Choosing the wrong category for a given job creates problems that only show up later. A logo built in a raster tool at a fixed resolution looks fine on a website and blurs badly the moment it needs to appear on a large-format banner. A vector illustration with heavy painterly texture, the kind raster tools handle naturally, often looks flat and lifeless when forced into vector paths that were never meant to replicate that kind of organic detail. Most professional workflows end up using both categories of tool depending on the specific deliverable, which is part of why suites like Creative Cloud and the newly free Affinity bundle both raster and vector applications together rather than shipping them as entirely separate products.
Typography And Font Management Tools Worth Knowing
Typography is arguably as important to a finished design as the imagery itself, and the tools around font selection and management deserve their own mention. Google Fonts remains the most widely used free font library, with a large, actively growing catalog available for both web and desktop use under open licenses that make commercial use straightforward. For paid, more distinctive typefaces, foundries like Adobe Fonts, included with a Creative Cloud subscription, and independent type foundries offer far more distinctive options than the free catalogs typically provide, which matters for branding work where a generic, overused typeface undercuts an otherwise strong design.
Font management itself becomes a real workflow issue once a designer or team accumulates more than a handful of licensed typefaces. Tools built specifically for organizing, previewing, and activating fonts on demand save real time compared to manually installing and deactivating font files as projects change, particularly for freelancers juggling different type systems across multiple concurrent client projects.
Mockup And Presentation Tools
How finished design work gets presented to a client or stakeholder matters almost as much as the design itself, since a flat, uncontextualized image of a logo or app screen is much harder for a non-designer to evaluate than the same design shown realistically in context, on a phone screen, a storefront sign, or a printed brochure. Dedicated mockup tools and mockup template libraries let a designer drop finished artwork into a realistic photographic context quickly, without needing to build that context from scratch in a full design application.
This step gets skipped more often than it should, particularly under deadline pressure, but the difference in how a client perceives finished work presented in a realistic mockup versus a flat export is significant enough that it is worth building into a standard project workflow rather than treating it as an optional finishing touch.
Common Mistakes New Designers Make With These Tools
A few patterns show up repeatedly among designers still building fluency with professional tools, regardless of which specific application they are using. Relying entirely on default settings, default color swatches, default type sizes, default export presets, produces work that looks generic because so many other designers are working from the exact same defaults. Spending time customizing a personal or team-specific set of starting presets pays off across every subsequent project.
Skipping proper file organization is another common issue that compounds over time rather than causing immediate problems. A single messy project file is manageable; a body of work spanning dozens of projects with no consistent naming or folder structure becomes a genuine liability once a client requests a revision to something finished months earlier. And treating a specific tool as the limiting factor in design quality, believing better output requires a more expensive application, usually misdiagnoses the actual issue, which is far more often about design fundamentals, composition, typography, color theory, than about which specific software rendered the final file.
A Practical Note On Choosing Between These Tools
The pricing landscape here has shifted enough that cost alone is no longer a reliable way to narrow this list. Affinity’s move to free, Canva-backed software means a genuinely professional-grade design suite is now available at no cost, which changes the calculus for students, freelancers just starting out, and anyone previously priced out of Creative Cloud’s ongoing subscription. That does not make Creative Cloud obsolete. Adobe’s ecosystem depth, from third-party plugin support to the sheer volume of tutorials and trained professionals already fluent in it, still matters a great deal for teams working inside established agency or studio workflows.
For vector illustration and general graphic design work, Affinity’s Vector studio or CorelDRAW are both strong, mature alternatives to Illustrator. For UI and UX design specifically, Sketch remains a solid, independently developed option on macOS, though many teams have also moved toward browser-based, cross-platform design tools for that specific workflow in recent years. For digital painting and illustration on a tablet, Procreate remains close to a category of its own on iPad.
Building A Website To Showcase Your Design Work
Whichever tools you use to create your work, a well-built portfolio site matters just as much for getting that work seen by the right people. WordPress remains a strong foundation for a design portfolio specifically because of how much control it gives you over layout, image presentation, and page speed, three things that matter enormously when the entire point of the site is showcasing visual work cleanly and loading it fast. Compress every image before uploading, use a theme genuinely built for visual portfolios rather than a generic business template, and keep the navigation simple enough that a visitor reaches your best work in one or two clicks rather than hunting through a cluttered menu structure.
Collaboration Features Worth Comparing
Design work rarely happens in complete isolation anymore, and how well a tool supports feedback and collaboration has become a real factor in tool choice, not just a nice-to-have. Real-time commenting directly on a design file, version history that lets a team roll back to an earlier iteration without losing later work, and shared component libraries that keep a whole team using the same button styles and color values all reduce the friction of working across a team rather than as a single designer.
Adobe Creative Cloud supports commenting and cloud document sharing across its applications, and Sketch supports similar collaborative review workflows for macOS-based teams. Affinity’s collaboration story has historically been lighter than either of those, built more around individual file ownership than live multi-user editing, though its new Canva ownership opens the door to deeper integration with Canva’s own collaborative, browser-based tools over time. If a team’s workflow depends heavily on simultaneous multi-user editing and lightweight, fast feedback loops, that collaboration depth is worth weighing as seriously as raw feature comparison when picking a primary tool.
Learning Curve And Where To Actually Start
For someone new to professional design software, the sheer number of tools and menus in any of the applications above can be genuinely overwhelming at first. A practical starting point is picking one tool, ideally whichever fits your immediate project need rather than the one with the most features, and committing to it long enough to build real fluency before evaluating alternatives. Switching tools every few weeks chasing whichever one looks most capable in a comparison article slows learning far more than sticking with one imperfect tool and actually mastering its core workflow.
Free, high-quality tutorials exist in enormous volume for every tool listed here, from official documentation to independent YouTube channels built specifically around teaching these applications from the ground up. Structured practice, recreating an existing design you admire, rather than only working on original projects from day one, tends to build fundamental skills faster than jumping straight into unstructured original work before understanding how the tool’s core mechanics actually behave.
How These Tools Fit Into A Real Client Workflow
A single design application rarely covers an entire client project end to end in practice. A typical workflow might start with rough concept sketches, move into a vector tool for logo or icon development, shift to a raster tool for photo retouching or texture work, and finish in a layout tool like InDesign for final print or presentation deliverables. Understanding how files move between these stages, and which export formats preserve editability versus which are purely for final delivery, matters as much as skill in any single application.
PDF and high-resolution PNG or JPEG exports are typically the final client deliverable, while native project files, PSD, AI, or the Affinity equivalents, stay internal for future edits and revisions. Losing track of which files are final-delivery-only versus editable source files is a common, entirely avoidable source of confusion on client projects, particularly once a project has gone through several rounds of revision and the file names have multiplied accordingly.
Getting The Most Out of Whichever Tool You Choose
Regardless of which application ends up in your regular workflow, a few habits improve output quality more than any single feature comparison. Build and maintain a personal or team style guide, covering color values, type scale, and spacing rules, and keep it updated as your work evolves, since consistency across a body of work reads as professionalism in a way that individually excellent but inconsistent pieces do not. Export assets at the resolutions and formats each specific use case actually needs rather than a single generic export, since a logo destined for a website favicon and one destined for a printed banner have genuinely different technical requirements.
Keep source files organized with clear naming conventions and version history, particularly on any long-running or team project, since the time spent hunting for “final_v3_actually_final.psd” six months into a project is time that basic file discipline would have avoided entirely. None of these habits depend on which specific application you use, and all of them matter more to the quality of a design career over time than which logo appears in the corner of your toolbar.
The bigger takeaway from how much this category has shifted recently, Affinity going free under Canva being the clearest example, is that tool cost is no longer a reliable barrier to doing genuinely professional design work. What still separates strong design output from weak output is the same thing it always was: a solid grasp of composition, typography, and color, applied consistently through whichever application happens to be open at the time. Pick a tool that fits your actual project and budget, learn it properly, and let the fundamentals do the rest of the work.
Related reading
6 Best Environmental Monitoring Tools for Scientific Research
7 Best Language Learning Tools for Cultural and Personal Growth
10 Best Public Relations Professional’s Tools for Managing Organizations