How to Use Block Filters and Hooks to Modify Block Behavior in Themes
Block filters and hooks are the WordPress theme developer’s escape hatch. You get a core block that is almost right, or a third-party block whose output fights your design system, and rewriting the block is not an option. Filters let you reach into the block lifecycle, at both the PHP render layer and the JavaScript registration layer, and change behavior without touching anyone else’s source code.
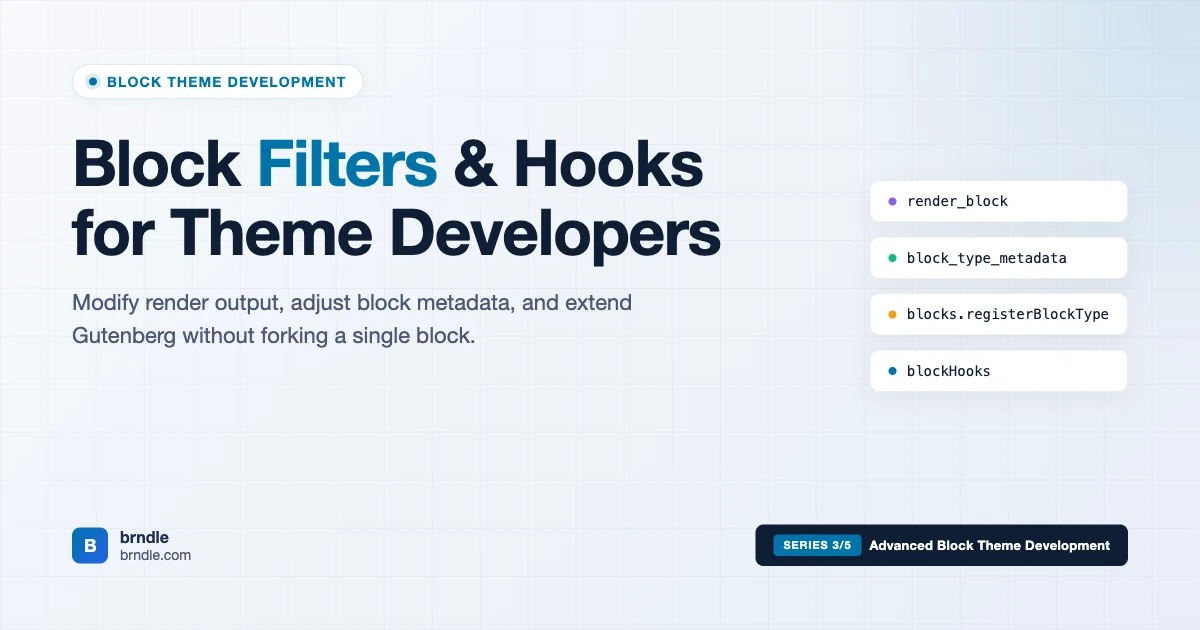
This guide covers the full surface of block filters for block theme developers. You will see how to modify server-side output with render_block, adjust block metadata with block_type_metadata, extend blocks in the editor with blocks.registerBlockType, add custom attributes that persist across saves, and strip out unwanted block features from your theme. Every example is production code you can drop into a block theme’s functions.php or a small plugin shipped alongside the theme.
Why filters matter more in block themes than classic themes
In a classic theme, you override a template, copy a core function, or write your own shortcode. Block themes flip the model. Templates are declarative HTML with block grammar, theme.json defines the design tokens, and the block itself owns its markup. The theme stops writing HTML and starts shaping the HTML that blocks emit.
That shift is exactly why filters matter. If the core Post Title block renders an h2 and you need an h1 with a specific class in your archive template, you are not rewriting the block, you are filtering its output. If the Image block exposes a caption feature your brand system never allows, you do not fork Gutenberg, you remove that support via a filter. The filter is the seam between what core and third-party plugins produce and what your theme actually ships.
If you are newer to block theme architecture, the foundation article Block Theme Development in 2026 walks through the pieces that filters sit on top of, and How to Build Custom Blocks for Block Themes covers the block registration side you will extend here.
The two layers: PHP filters and JavaScript filters
Block filters come in two families, and choosing the right one is the first design decision on any customization.
- PHP filters run on the server, right before the block HTML is sent to the browser. They cannot change what the editor shows the author. They are the right tool for output-only changes, like wrapping markup, stripping classes, or appending schema.
- JavaScript filters run inside the block editor. They can add attributes, inject controls into the Inspector, change the edit canvas, and modify saved markup at the source. They are the right tool when the change needs to be visible and editable in the editor.
A useful rule: if your change only needs to show up on the front end, reach for PHP. If the author needs to see, configure, or interact with the change inside the Site Editor, reach for JavaScript.
PHP filter 1: render_block for output modification
The render_block filter runs once for every block instance that renders on a page. It receives the final HTML string, the block array, and the block instance object, and it expects the modified HTML back.
<?php
/**
 * Wrap every core/image block in a figure with a custom class
 * so our design system can hang styles off a predictable selector.
 */
add_filter( 'render_block', function ( $block_content, $block ) {
    if ( 'core/image' !== $block['blockName'] ) {
        return $block_content;
    }

    return sprintf(
        '<div class="ds-media-frame">%s</div>',
        $block_content
    );
}, 10, 2 );
Three details that matter in production:
- Always short-circuit first. Check
$block['blockName']and return the original content for every block you do not own. A misbehavingrender_blockcallback that touches every block on every page is the fastest way to tank Time To First Byte. - Return a string, never null. Returning
nullwill silently empty the block on the front end. - Do not re-run shortcodes or blocks. The content you receive has already been processed. Wrapping it is safe, passing it back through
do_blocks()ordo_shortcode()will double-render.
Block-specific variants: render_block_{namespace}/{block}
WordPress gives you a targeted version of the filter so you do not need a blockName check at all. The pattern is render_block_{namespace}/{block}, with the slash intact.
<?php
add_filter( 'render_block_core/post-title', function ( $block_content, $block ) {
    // Only touch titles inside the query loop, not the singular view.
    if ( ! is_home() && ! is_archive() ) {
        return $block_content;
    }

    $reading_time = get_post_meta( get_the_ID(), '_reading_time', true );
    if ( ! $reading_time ) {
        return $block_content;
    }

    $meta = sprintf(
        '<p class="ds-reading-time">%d min read</p>',
        (int) $reading_time
    );

    return $block_content . $meta;
}, 10, 2 );
This variant skips the generic loop entirely, so other blocks pay no cost. Use it whenever you know the exact block you are targeting.
Context-aware rendering with the block instance
The third argument to render_block is the WP_Block instance. It carries context, useful when a block renders inside a Query Loop or a Template Part and needs to know about the current post or the parent block.
<?php
add_filter( 'render_block_core/post-excerpt', function ( $block_content, $block, $instance ) {
    $post_id = $instance->context['postId'] ?? null;
    if ( ! $post_id ) {
        return $block_content;
    }

    // Only append a badge on posts in the "tutorial" category.
    if ( ! has_category( 'tutorial', $post_id ) ) {
        return $block_content;
    }

    return $block_content . '<span class="ds-badge ds-badge--tutorial">Tutorial</span>';
}, 10, 3 );
Block context is how Query Loop children know which post they are rendering for. Reading it off $instance->context is cleaner than hitting the global $post, and it respects any overrides the parent block has already set.
PHP filter 2: block_type_metadata for adjusting registered metadata
While render_block modifies output, block_type_metadata modifies the block’s registered definition. It runs during register_block_type_from_metadata(), so it changes what the editor believes about the block: its supports, its attributes, its default styles.
<?php
/**
 * Remove drop cap support from the paragraph block.
 * Brand voice uses short lead sentences, and drop caps break that rhythm.
 */
add_filter( 'block_type_metadata', function ( $metadata ) {
    if ( 'core/paragraph' !== $metadata['name'] ) {
        return $metadata;
    }

    if ( isset( $metadata['supports']['typography']['dropCap'] ) ) {
        $metadata['supports']['typography']['dropCap'] = false;
    }

    return $metadata;
} );
The difference this makes compared with a CSS override is important. Hiding the drop cap with CSS leaves the toggle in the editor, and an unfamiliar author will still flip it on and then file a bug when it has no effect. Filtering the metadata removes the control from the UI entirely, so the option never appears.
block_type_metadata_settings for the runtime settings
A sibling filter, block_type_metadata_settings, runs slightly later in the registration flow and receives the processed settings array, not the raw JSON. Use it when you need to modify server-only fields like render_callback or api_version.
<?php
add_filter( 'block_type_metadata_settings', function ( $settings, $metadata ) {
    if ( 'core/latest-posts' !== $metadata['name'] ) {
        return $settings;
    }

    $original = $settings['render_callback'];
    $settings['render_callback'] = function ( $attributes, $content, $block ) use ( $original ) {
        $html = $original( $attributes, $content, $block );
        return '<section class="ds-latest-posts">' . $html . '</section>';
    };

    return $settings;
}, 10, 2 );
Wrapping a render callback lets you post-process dynamic block output without losing the original behavior, and without needing a global render_block listener.
JavaScript filter 1: blocks.registerBlockType
The blocks.registerBlockType filter runs in the editor when any block is registered. It is the canonical way to change a block’s definition inside Gutenberg: attributes, supports, transforms, example data, and more.
// assets/js/block-filters.js
import { addFilter } from '@wordpress/hooks';

/**
 * Remove the alignment control on the core/heading block.
 * Our theme locks headings to their template container.
 */
addFilter(
    'blocks.registerBlockType',
    'ds-theme/lock-heading-alignment',
    ( settings, name ) => {
        if ( name !== 'core/heading' ) {
            return settings;
        }

        return {
            ...settings,
            supports: {
                ...settings.supports,
                align: false,
            },
        };
    }
);
Enqueue the file from your theme with enqueue_block_editor_assets, which is the editor-only asset hook:
<?php
add_action( 'enqueue_block_editor_assets', function () {
    wp_enqueue_script(
        'ds-theme-block-filters',
        get_theme_file_uri( 'assets/js/block-filters.js' ),
        array( 'wp-hooks', 'wp-blocks' ),
        wp_get_theme()->get( 'Version' ),
        true
    );
} );
Always pass a unique namespaced second argument to addFilter. That string identifies your filter when debugging and when other callbacks need to run in a specific order.
JavaScript filter 2: adding custom attributes via filters
Adding a new attribute to an existing block is a three-part dance. You extend the attributes schema with blocks.registerBlockType, inject a control into the editor with editor.BlockEdit, and persist the value into the saved HTML with blocks.getSaveContent.extraProps.
import { addFilter } from '@wordpress/hooks';
import { InspectorControls } from '@wordpress/block-editor';
import { PanelBody, ToggleControl } from '@wordpress/components';
import { createHigherOrderComponent } from '@wordpress/compose';
import { Fragment } from '@wordpress/element';
import { __ } from '@wordpress/i18n';

const TARGET_BLOCKS = [ 'core/group', 'core/columns', 'core/cover' ];

// 1. Extend the attributes schema.
addFilter(
    'blocks.registerBlockType',
    'ds-theme/add-reveal-attribute',
    ( settings, name ) => {
        if ( ! TARGET_BLOCKS.includes( name ) ) {
            return settings;
        }
        return {
            ...settings,
            attributes: {
                ...settings.attributes,
                dsReveal: { type: 'boolean', default: false },
            },
        };
    }
);

// 2. Inject a toggle into the Inspector sidebar.
const withRevealControl = createHigherOrderComponent( ( BlockEdit ) => {
    return ( props ) => {
        if ( ! TARGET_BLOCKS.includes( props.name ) ) {
            return <BlockEdit { ...props } />;
        }

        const { attributes: { dsReveal }, setAttributes } = props;

        return (
            <Fragment>
                <BlockEdit { ...props } />
                <InspectorControls>
                    <PanelBody title={ __( 'Motion', 'ds-theme' ) } initialOpen={ false }>
                        <ToggleControl
                            label={ __( 'Fade in on scroll', 'ds-theme' ) }
                            checked={ !! dsReveal }
                            onChange={ ( value ) => setAttributes( { dsReveal: value } ) }
                        />
                    </PanelBody>
                </InspectorControls>
            </Fragment>
        );
    };
}, 'withRevealControl' );

addFilter(
    'editor.BlockEdit',
    'ds-theme/with-reveal-control',
    withRevealControl
);

// 3. Persist the attribute into saved markup as a data attribute.
addFilter(
    'blocks.getSaveContent.extraProps',
    'ds-theme/reveal-save-props',
    ( extraProps, blockType, attributes ) => {
        if ( ! TARGET_BLOCKS.includes( blockType.name ) ) {
            return extraProps;
        }

        if ( attributes.dsReveal ) {
            extraProps[ 'data-ds-reveal' ] = 'true';
        }

        return extraProps;
    }
);
Notice that we store the visible state as a data- attribute on save. That is the most portable way to expose block state to front-end CSS or a small IntersectionObserver script, and it survives reserialization because Gutenberg treats data-* attributes on the wrapper as first-class.
The pattern extends beyond motion toggles. Anything that needs to round-trip through the editor, like a layout variant, an aspect ratio lock, or a theme-specific background slot, can be added this way without forking the block.
Modifying the edit canvas vs. modifying saved output
Two filters are easy to confuse when you first meet them.
editor.BlockListBlockwraps the block as it appears in the canvas. It changes the editor view only, and its changes are not saved with the post.blocks.getSaveElementmodifies the element a static block returns from itssavefunction. It does change the post content, which means a block validation mismatch risk if you get it wrong.
Use editor.BlockListBlock for visual hints: a dashed outline in the editor when a feature is enabled, an author-only label, a layout guide. Use getSaveContent.extraProps for persistent wrapper attributes, as in the reveal example above. Use blocks.getSaveElement only when you genuinely need to change what a static block saves, and be prepared to write a deprecation so existing content still validates.
Removing unwanted block features in themes
A well-scoped block theme says no to the block editor more often than it says yes. Every support you turn off is one fewer axis of inconsistency in the content your team produces.
Option A: turn off a support via metadata
The drop cap example earlier is the simplest form. Any key under supports can be forced off on the PHP side. This removes both the control and the attribute, cleanly.
Option B: restrict variations and styles via theme.json
Before reaching for a filter, check whether theme.json already covers the case. For example, you can limit available font sizes, disable custom colors, or remove layout options per block under settings.blocks. Use theme.json first, filters second. Your theme’s theme.json is the declarative API; filters are the imperative escape hatch.
Option C: unregister a block style
WordPress ships default block styles, like the rounded variant on the Image block, that you may not want. Remove them surgically:
// assets/js/block-styles-cleanup.js
import { unregisterBlockStyle } from '@wordpress/blocks';
import domReady from '@wordpress/dom-ready';

domReady( () => {
    unregisterBlockStyle( 'core/image', 'rounded' );
    unregisterBlockStyle( 'core/quote', 'large' );
} );
Option D: restrict allowed blocks entirely
On high-discipline sites, you can allow only a curated set of blocks for certain post types. The allowed_block_types_all filter is the right tool here:
<?php
add_filter( 'allowed_block_types_all', function ( $allowed, $editor_context ) {
    if ( empty( $editor_context->post ) ) {
        return $allowed;
    }

    if ( 'landing_page' !== $editor_context->post->post_type ) {
        return $allowed;
    }

    return array(
        'core/group',
        'core/columns',
        'core/column',
        'core/heading',
        'core/paragraph',
        'core/buttons',
        'core/button',
        'core/image',
        'ds-theme/hero',
        'ds-theme/feature-grid',
    );
}, 10, 2 );
This is stricter than a filter on any single block. It keeps the insertion menu tight, which means faster authoring and zero surprise content patterns.
Block Hooks: the declarative cousin of filters
WordPress 6.4 introduced Block Hooks, a declarative way to auto-inject one block around another without writing a render_block callback. They are defined in a block’s block.json under the blockHooks key.
{
    "name": "ds-theme/newsletter-cta",
    "blockHooks": {
        "core/post-content": "after"
    }
}
This tells WordPress to insert your newsletter CTA block after every Post Content block, everywhere it appears. Authors see the injected block in the editor and can disable it on any specific post. It is declarative, auditable, and shows up in the block inspector, which is hard to beat for simple injection cases.
Use Block Hooks when the rule is “always inject this block, everywhere, at this anchor,” and use render_block when the rule is more dynamic, per-post, or needs computed values. For a deeper look at how the core team is positioning Block Hooks alongside other pattern-level tools, our guide on Pattern Overrides in WordPress 7.0 covers the wider direction of pattern composition.
Performance considerations for render_block at scale
The render_block filter runs for every block on every request. A fifty-block homepage means fifty calls per visit. Three habits keep that cheap.
- Bail on block name first. Check
$block['blockName']before any other logic. An early return is effectively free. - Prefer
render_block_{namespace}/{block}. When you know the block, the targeted hook skips the generic loop entirely. - Cache expensive lookups. If your filter calls
get_post_metaor queries taxonomies, remember that the post is already known. Cache the result in a static variable keyed byget_the_ID(), or move the work tothe_postso the filter just reads a pre-computed value.
A useful diagnostic: install Query Monitor, open the Hooks panel on a page with heavy filter usage, and check the total callback time for render_block. If it trends past a few milliseconds, something in your chain is doing real work on every block.
Debugging block filters without losing your mind
Block filter bugs almost always show up as one of three symptoms: block validation errors in the editor, phantom attributes in the saved HTML, or front-end output that does not match the editor view.
- Block validation errors come from
blocks.getSaveContent.extraPropsorblocks.getSaveElementchanging whatsavereturns without a matching attribute definition. Check that every value you add to save output is declared as an attribute first. - Phantom attributes mean your
blocks.registerBlockTypefilter is adding an attribute that is not being consumed. Either use it on save, or remove it until you do. - Editor vs front-end mismatch is the classic trap. If you want the change visible to authors, you need a JavaScript filter. A PHP-only filter will only change the public view, and authors will keep flagging it as broken.
Always namespace your JavaScript filters, turn on SCRIPT_DEBUG in development so Gutenberg shows full block validation diffs, and keep one filter file per concern. When something goes wrong, you can disable one file and isolate the cause in seconds.
Where block filters fit in a theme’s architecture
In a mature block theme, filters tend to sit in three places:
inc/filters/render-block.phpfor PHP output modifications, each filter narrowly scoped to one block.inc/filters/block-metadata.phpforblock_type_metadatachanges, grouped by the supports or attribute they affect.assets/js/editor/with one file per block extension, compiled together into a single editor bundle.
Keeping filters out of functions.php and in small, named files pays off the first time someone inherits the codebase. The file name tells you what the filter does, and the filter tells you which block is affected, which is as self-documenting as WordPress theme code gets.
Testing filters without shipping breakage
Filters are easy to write and easy to ship bugs with. A small discipline on the test side pays back every release. The three habits worth building into your theme workflow:
- Snapshot the rendered output. For each
render_blockfilter, keep a short PHPUnit test that feeds a sample block array in and asserts the expected HTML back. This catches regressions when WordPress changes the underlying block markup between versions. - Round-trip the editor. For each JavaScript filter that touches attributes, open the block in the Site Editor, save, reload, and save again. If the attribute survives both saves without a validation warning, the filter chain is stable.
- Test on the site editor templates you ship. A filter that works on a single post can still collide with a block inside a Template Part. Always open one archive, one singular view, and one page template before calling a filter done.
That small matrix takes about five minutes per filter and catches nearly every production regression you will otherwise hear about from customers.
Closing notes
Block filters and hooks are the seam your theme lives in once block registration moves out of your control. render_block handles output. block_type_metadata handles supports. blocks.registerBlockType extends the schema, editor.BlockEdit extends the UI, and getSaveContent.extraProps persists the result. Together they give you a complete toolkit for shaping core and third-party blocks to fit your design system, without ever forking a block.
Treat filters as the last resort, after theme.json, after patterns, after block variations. But when you need them, reach for the right layer, keep the scope tight, and let your theme be opinionated about what blocks can and cannot do on your site.