Attaching a link to your PayPal account on your website for generating donations is not the road you should take. If you have already partaken such a stance. Let me help you in actually realizing the potential of your Non-Profit organization website in attaining more donations.
I will start by accepting that a link to your PayPal account is a good start, but there’s still a lot more that needs to be done to your website in order to see a significant increase in your donations online.
A properly set-up NGO website makes it easier for someone to donate online and cuts the administrative work of processing the donation for you.
So, What Needs to be Done?
- You need to ask your visitors to donate.
- Provide your potential donors all the information that they need which will make them comfortable in donating.
- Payments should be instantly processed into your donation account (like PayPal)
- Generate and send an automated tax receipt to donors
- Store the donor information in a database
- A donation summary to tell you how many donations you still need to reach your goal
- Scheduled emails to keep you in touch with your donors
So in essence, it takes 5 steps to set up a successful donation website for your Nonprofit organization which will increase your donations.
5 Steps to Create a Donation Website for Your Nonprofit Organization (NGO)

Step 1: Create a Donation Landing Page
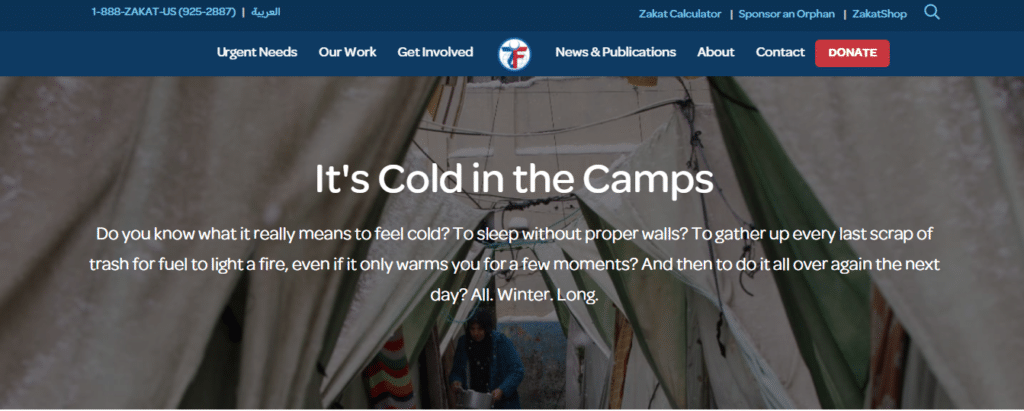
This is quite straightforward. Your landing page should also be your donation page. Here you’ll need a one-page sales pitch that includes all the information someone might need before making a decision to donate to your organization.
People feel good after donating, make sure that your page should try to multiply and increase this feeling when people make donations.
Apart from all the sugar coating, let me tell you about the stuff which has to be there on your donation landing page:
- The mission of your organization.
- A testimonial of a person who was helped by your organization including an image to make it more believable.
- A detailed breakdown of how the donation is utilized by your organization.
- A message from the founder, chairperson, or President of the board of your organization.
- Ask for a donation with an attainable goal.
This is the most important step to carry out in order to convert traffic into donations. We suggest you opt for a community WordPress which is customizable enough to make your NGO website. Varuna by Brndle is an excellent choice to make empathetic and attractive landing pages for increasing donations. It comes with integrated support for WooCommerce so conducting business won’t be a problem. While Gutenberg and Elementor plugin will help in customizing the look and feel of your website to ensure that your organization branding is reflected across your website.
Step 2: Create A Form For Donor’s Information
Keeping the information of your donors helps you in reaching out to them every time you have a new donation goal. Successful nonprofits always keep a record of their donors in a database and reach out to them regularly to ask for repeat donations (something you should definitely do).
This allows you to keep a tab on your previous donors while you can utilize your resources in finding new donors.
Adding a donation form on your page is as simple as installing a plugin. You can use the Give WP plugin to create customizable donation forms, manage donors, view their donation statistics and so much more.
(Tip: You can check out this blog to get insights on valuable WordPress Donation plugins.)
Remember your donation form should have these fields as mandatory: Name (First & Last), Email, Address, and Phone Number. This information will definitely help you when you launch a new donation campaign.
Step 3: Send Automated Tax Receipt And Thank You Messages
Using an addon like PDF Receipts with GiveWP you can easily send receipts of transactions to your donors. This will save you time from doing administrative tasks. A thank you message can be easily displayed on your website upon successful payment reception.
Showing an appreciation message will show new donors that you care about the donation they made, hence they’ll be more likely to make a new donation again.
Step 4: Your Landing Page Should Be Shareable Across Social Media

Making your donation page shareable will increase the likelihood of people hearing about your campaign and hence resulting in more donations.
You can encourage social media sharing of your donation page by:
- Ask people to share your page on Facebook, Instagram, and Twitter.
- And, by adding links to your social accounts on your donation page via social share buttons.
Step 5: Finally, Add A Donation Button Across Your Website
If a person comes on your website and is made to look for the donation button, chances are he will start looking at your blogs, news, events and close the website because it slipped their mind and now you’ve missed on your donation.
Thereby it is very important for you to have a “Donate” button displayed across your website, on every page. The button placement is completely up to you, you can place it on the top, in the menu, or both.
I’d recommend you to place them in both places. Link these buttons to your donation landing page as we talked about in Step One. That is because your donation page is your best pitch as to why someone should make a donation to your organization and how much.
Bonus Tip: Remember To Promote Your Donation Page To Drive More Traffic
It is important to spend time promoting your website. A general rule of thumb is the 80/20 rule: 20% of your time spent on content creation should be followed by 80% of your time in promoting it.
This applies to your donation page as well. Once you have published it make sure to promote it.
A study has found that the following periods have the highest natural giving trends:
- April and October natural incline in online donations.
- Giving Tuesday sees a spike in donations by 30% vs the rest of the year.
- One-third of all online giving happens in the month of December, with 22% occurring on December 30th and 31st.
So, you should promote your donation page via:
- Blogs: Creating blogs with stories on your cause for asking the donation, and then ask for donations. Attach the link to your donation page.
- E-Mails: Write emails asking for donations and schedule them to send automatically during these periods. There are various email automation plugins on the WordPress store available for free.
- Social Media: Schedule and post on social media with links to your donation landing page. Twitter, Facebook, Instagram, and LinkedIn are your best bet for asking for donations during these months.
Final Word
I hope that this holiday season you can utilize these tips to garner more donations than ever before. If you still have any concerns feel free to reach out to us in the comments.

