Top 7 Best Live Streaming Tools for YouTube in 2026
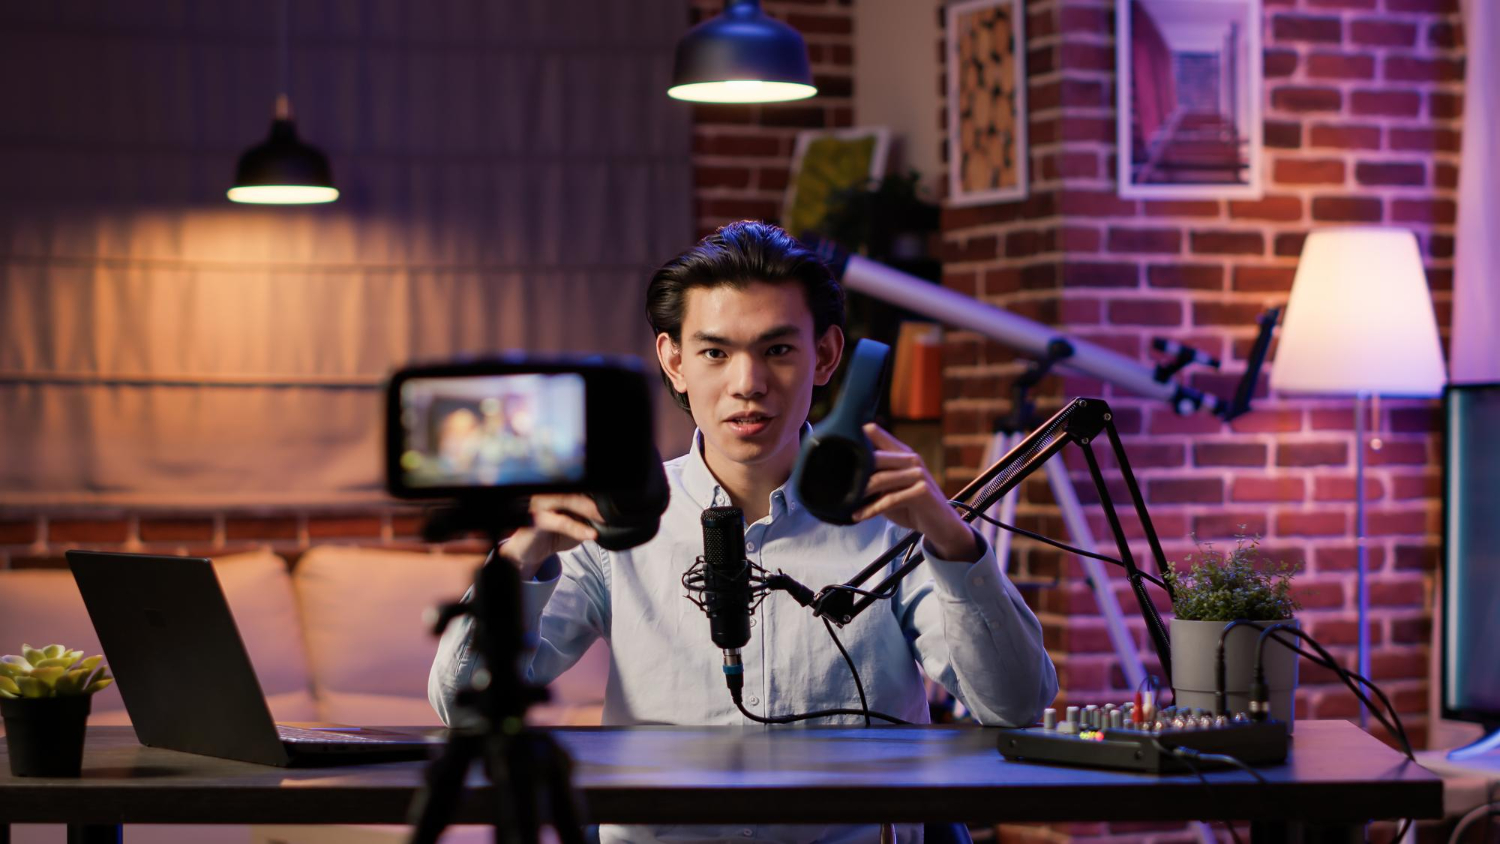
Somewhere between a webcam and a global audience, live streaming quietly turned from a niche hobby into a legitimate way to build an actual business. Gaming channels, tutorial creators, brands hosting product launches, and everyday people doing casual Q&As all lean on YouTube’s live infrastructure now, and the software sitting between the camera and the stream largely determines whether that broadcast looks like a professional production or a shaky afterthought. The right tool doesn’t just push video to YouTube, it quietly shapes how an audience perceives the person or brand actually behind the stream.
Top YouTube Live Streaming Tools
1. OBS Studio
OBS Studio has become the default answer to “what should I stream with” for a reason: it’s free, endlessly configurable, and backed by a community that’s built plugins for nearly every conceivable streaming need. Multiple scenes let a streamer switch between a full-screen game view, a webcam-and-chat overlay, and a “be right back” screen without missing a beat, and the plugin ecosystem extends into everything from advanced scene transitions to virtual camera output for other apps. The tradeoff for all that power is a genuinely steeper learning curve than most competitors, requiring manual configuration that friendlier paid tools handle automatically.
Pros: Free and open source, highly customizable, supports multiple scenes, extensive plugin ecosystem
Cons: Steeper learning curve, requires manual configuration
Best for: Experienced streamers wanting maximum control
2. Streamlabs
Streamlabs took OBS’s open-source foundation and wrapped it in a considerably friendlier interface, adding built-in alerts, overlays, and monetization features that would otherwise require stitching together several separate tools. New streamers gravitate here specifically because the setup process asks fewer technical questions upfront, letting a first stream go live faster than a from-scratch OBS configuration would allow. That convenience comes at a resource cost, Streamlabs tends to demand more from a computer’s processor than base OBS, and some of the more advanced features sit behind a subscription.
Pros: User-friendly OBS alternative, built-in alerts and overlays, monetization features
Cons: More resource-intensive, some features require subscription
Best for: Streamers wanting easy setup with professional features
3. StreamYard
StreamYard’s entire pitch is convenience: it runs directly in a browser tab, meaning zero downloads and a setup process a first-time streamer can complete in minutes. Inviting a guest onto the stream is as simple as sending a link, which makes it a natural fit for interview-style content, panel discussions, and podcasts recorded live rather than the fast-paced gaming streams OBS tends to dominate. The browser-based approach limits customization compared to native software, and the free plan carries a visible watermark that only disappears on a paid tier.
Pros: Browser-based (no download), easy guest invitations, multistreaming, professional layouts
Cons: Limited customization, watermark on free plan
Best for: Podcasters, interviews, and multi-guest streams
4. Restream
Restream solves a specific, valuable problem: getting one stream out to thirty or more platforms at once instead of picking a single destination and leaving the rest of a potential audience unreached. The analytics dashboard gives streamers a genuinely useful cross-platform view of performance that individual platforms don’t offer on their own, and scheduling tools help plan recurring streams in advance. Multistreaming to more than a couple of destinations requires a paid plan, and routing a stream through Restream’s infrastructure adds a small amount of latency compared to streaming directly.
Pros: Stream to 30+ platforms simultaneously, analytics dashboard, scheduling
Cons: Multistreaming requires paid plan, adds latency
Best for: Creators wanting to reach multiple platforms at once
5. Ecamm Live (Mac)
Ecamm Live has carved out a loyal following among Mac-based streamers specifically because it feels like it was actually designed for macOS rather than ported over as an afterthought. Camera switching between multiple sources happens smoothly and reliably, and built-in screen sharing makes tutorial and demo-heavy streams straightforward to produce without needing a second piece of software running alongside it. The obvious limitation is platform exclusivity, Windows and Linux users simply cannot use it at all, and the software itself requires a paid license rather than offering a genuinely free tier.
Pros: Mac-native, easy to use, excellent camera switching, screen sharing
Cons: Mac-only, paid software
Best for: Mac users wanting professional live production
6. XSplit Broadcaster
XSplit has been a fixture in the streaming software space nearly as long as OBS, and it occupies a middle ground between OBS’s raw configurability and Streamlabs’ guided simplicity. Scene transitions and source management feel more polished out of the box than OBS’s default setup, and the plugin marketplace, while smaller than OBS’s, covers most common streaming needs without requiring third-party hunting. XSplit’s free tier includes a persistent watermark, and unlocking the full feature set requires a subscription that some streamers find harder to justify than a one-time purchase.
Pros: Polished interface, built-in scene transitions, active plugin marketplace, gaming-focused features
Cons: Watermark on free tier, subscription required for full features
Best for: Streamers wanting OBS-level features with a gentler learning curve
7. vMix
vMix sits closer to broadcast-grade production software than the rest of this list, supporting multiple camera inputs, instant replay, and a level of live video mixing more commonly found in television production trucks than a creator’s home setup. That power makes it a strong fit for multi-camera live events, conferences, and church or corporate broadcasts that need genuinely professional-grade switching between sources. The learning curve and price tag scale with that capability, making vMix overkill for a solo streamer who just needs a webcam and a game capture.
Pros: Broadcast-grade multi-camera switching, instant replay, professional production tools
Cons: Steep learning curve, expensive for casual use
Best for: Multi-camera live events, conferences, and professional broadcasts
Related Video Tools
Complement your live streaming setup with the right video tools. Explore Loom alternatives for video recording, check out Zoom alternatives for video calls with guests, and discover video compression software for optimizing your recordings.
Matching Software to Your Streaming Style
Gaming streamers tend to gravitate toward OBS, Streamlabs, or XSplit specifically because all three handle game capture and scene switching with the kind of low-latency responsiveness competitive and casual gaming both demand. Interview and panel-style creators are usually better served by StreamYard, since guest management through a simple browser link beats asking every single guest to install and configure separate streaming software just to appear on a call.
Multi-camera productions, whether that’s a live event, a church service, or a corporate town hall, need something closer to vMix’s broadcast-grade switching capabilities, where OBS’s more general-purpose design starts to feel limiting. Creators focused on maximizing reach across platforms rather than perfecting a single stream’s production value tend to build their workflow around Restream’s multistreaming, often paired with OBS or Streamlabs as the actual encoding software feeding into it, keeping the setup relatively simple even as the distribution grows more complex.
Hardware Considerations Beyond the Software
No streaming software can fully compensate for genuinely underpowered hardware, and it’s worth being honest about a computer’s actual capacity before committing to a demanding tool like vMix or a resource-heavy one like Streamlabs. Encoding video in real time while also running a game or other demanding application places real strain on a CPU and GPU simultaneously, and streamers on older or budget hardware often see better results dropping down to OBS’s leaner resource footprint or investing in a dedicated capture card that offloads encoding work.
Internet upload speed matters just as much as local hardware, and it’s the constraint most new streamers underestimate. A stream that looks great locally can still appear choppy or low-resolution to viewers if upload bandwidth can’t sustain the chosen bitrate, and testing actual upload speed under real-world conditions, not just a best-case speed test run when nobody else in the house is online, before committing to a streaming quality setting saves a lot of frustrated troubleshooting later.
A wired ethernet connection, rather than WiFi, remains one of the simplest and most overlooked reliability improvements available to any streamer. WiFi introduces variability that a wired connection largely avoids, interference from other devices, signal degradation through walls, unpredictable congestion during peak household usage, and for anyone streaming from a fixed location, running an ethernet cable to the streaming computer is a low-cost change that measurably reduces the odds of a mid-stream dropout or quality dip.
Setting Up Your First Stream Without Overcomplicating It
New streamers often try to replicate a polished, veteran streamer’s elaborate multi-scene, multi-overlay setup on their very first broadcast, which usually leads to considerably more troubleshooting than actual streaming. Starting with a single, simple scene, camera and game capture, or just a webcam and screen share, and adding complexity only once that basic setup feels comfortable and reliable, tends to produce a noticeably smoother experience for both the streamer and the audience watching.
Testing a full setup privately before going live publicly catches the vast majority of configuration problems: audio levels that are too quiet or clipping, a webcam angle that’s unflattering, a scene transition that doesn’t trigger correctly. A ten-minute private test stream, viewable only by the streamer, is one of the simplest habits that separates smooth, professional-feeling first streams from chaotic, visibly under-rehearsed ones.
Common Live Streaming Mistakes
Overloading the screen with overlays, alerts, and widgets is one of the most common ways new streamers accidentally sabotage their own otherwise solid production quality. Every alert popup, every animated overlay element, competes for a viewer’s attention against the actual content, and a cluttered screen often reads as amateur rather than impressive, regardless of how much effort went into designing each individual element. Restraint, a clean layout with a handful of purposeful elements, consistently reads as more professional than a screen packed with everything the software allows.
Ignoring audio quality while obsessing over video is another frequent misstep. Viewers tolerate mediocre video far more readily than they tolerate bad audio, crackling, echo, inconsistent volume levels, because audio problems are directly, immediately unpleasant in a way that slightly soft video simply isn’t. A basic external microphone, even a genuinely inexpensive one, tends to improve perceived stream quality more noticeably than a camera upgrade purchased for the same amount of money.
Starting streams late or inconsistently is a third common mistake that quietly erodes audience trust over time. Viewers who show up for an announced start time and find nothing happening, or find the stream starting fifteen minutes late over and over again, gradually learn not to bother showing up on time for future streams, which quietly undermines the live, real-time appeal that makes streaming valuable in the first place.
Trying to do too much alone, hosting, moderating chat, running the technical side of the software, and managing overlays simultaneously, is a fourth mistake that shows up most often once a stream starts growing an audience large enough that chat moves faster than one person can track. Recruiting a moderator, even an informal one drawn from regular viewers, frees the host to focus fully on the actual content rather than splitting attention across every responsibility at once, and it tends to make chat feel noticeably more welcoming to brand new viewers as well.
Monetization Options for YouTube Live Streams
YouTube’s own monetization tools, Super Chat, Super Thanks, and channel memberships, work directly within the platform regardless of which streaming software is pushing the broadcast, since they’re built into YouTube’s live infrastructure rather than the encoding software. Enabling these features requires meeting YouTube’s Partner Program eligibility requirements first, which is worth checking well before planning an entire monetization strategy around live content specifically.
Sponsorships and brand deals increasingly favor streamers who can demonstrate consistent viewership and engagement rather than one-off viral moments, which circles back to the earlier point about consistency mattering more than any single stream’s production polish or technical sophistication. Software choice indirectly supports this goal: tools like Streamlabs include built-in sponsor overlay and alert integrations that make it easier to fulfill sponsorship deliverables cleanly during a live broadcast without manually cutting to a slide.
Multistreaming through Restream can also open monetization paths beyond YouTube itself, since platforms like Twitch and Facebook Gaming have their own separate monetization systems that a creator can tap into simultaneously rather than committing exclusively to one platform’s revenue model.
Affiliate links and product placements woven naturally into a live broadcast, rather than a disruptive scripted ad break, tend to perform better with live audiences specifically because the format rewards authenticity over polish. A streamer genuinely using and discussing a product on camera during a live session often converts better than the same message delivered as a pre-recorded, obviously scripted advertisement, simply because the live, unedited format signals a kind of honesty that carefully produced content struggles to replicate in front of a skeptical, attention-scarce audience.
Live Streaming Tips
Test before going live: Always do a private test stream to check audio and video quality before an audience is watching.
Engage with chat: Responding to viewers builds community and increases watch time, and it’s one of the clearest differentiators between a stream that feels alive and one that feels like a recording.
Have a backup plan: Internet issues happen, know how to recover gracefully, whether that means a backup connection, a clear “we’re having technical difficulties” scene, or simply knowing how to restart the stream quickly.
Frequently Asked Questions
Do I need expensive equipment to start streaming on YouTube? No. A decent webcam, a reasonably quiet room, and free software like OBS or StreamYard cover the essentials. Better equipment matters more once a stream already has an engaged, returning audience and production quality starts becoming a genuine competitive differentiator.
Can I switch streaming software later without losing my setup? Scene layouts and overlays generally don’t transfer directly between different software packages, so switching tools later usually means rebuilding a setup entirely from scratch, which is worth factoring in before investing significant time customizing one particular platform.
Is multistreaming to several platforms actually worth the added complexity? It depends on where an audience actually is. Multistreaming makes sense when a creator has meaningful audiences split across platforms, but for creators whose audience is concentrated almost entirely on YouTube, the added complexity of managing multiple destinations often isn’t worth the marginal reach.
What bitrate should I stream at for YouTube specifically? YouTube generally recommends bitrates in the range of several thousand kilobits per second for 1080p streams, though the exact optimal setting depends on frame rate and upload bandwidth. Testing a private stream at a target bitrate before going live publicly is the most reliable way to confirm it holds up without buffering.
How much does streaming software typically cost? OBS is completely free with no paid tier at all. Streamlabs, StreamYard, XSplit, and Restream all offer functional free tiers with paid upgrades for advanced features, while Ecamm Live and vMix require a paid license from the start, reflecting their more specialized, professional-grade positioning.
Choosing Your Starting Point
For most creators just beginning, OBS remains the most defensible starting choice simply because it’s free, powerful enough to grow into over years rather than months, and backed by an enormous body of tutorials covering nearly every configuration question a new streamer might run into. Streamers who find OBS’s setup process genuinely intimidating, rather than just unfamiliar, are better served starting with Streamlabs or StreamYard and migrating to OBS later if they eventually want more granular control.
Whatever the choice, the software matters less than showing up consistently and actually engaging with whoever’s watching. A technically flawless stream to an empty chat teaches a creator far less about their audience than a rougher stream where they’re actively responding to comments and building a real, recurring relationship with the people tuning in week after week.