Best Cinematic Video Editing Software in 2026 – Create Professional Films
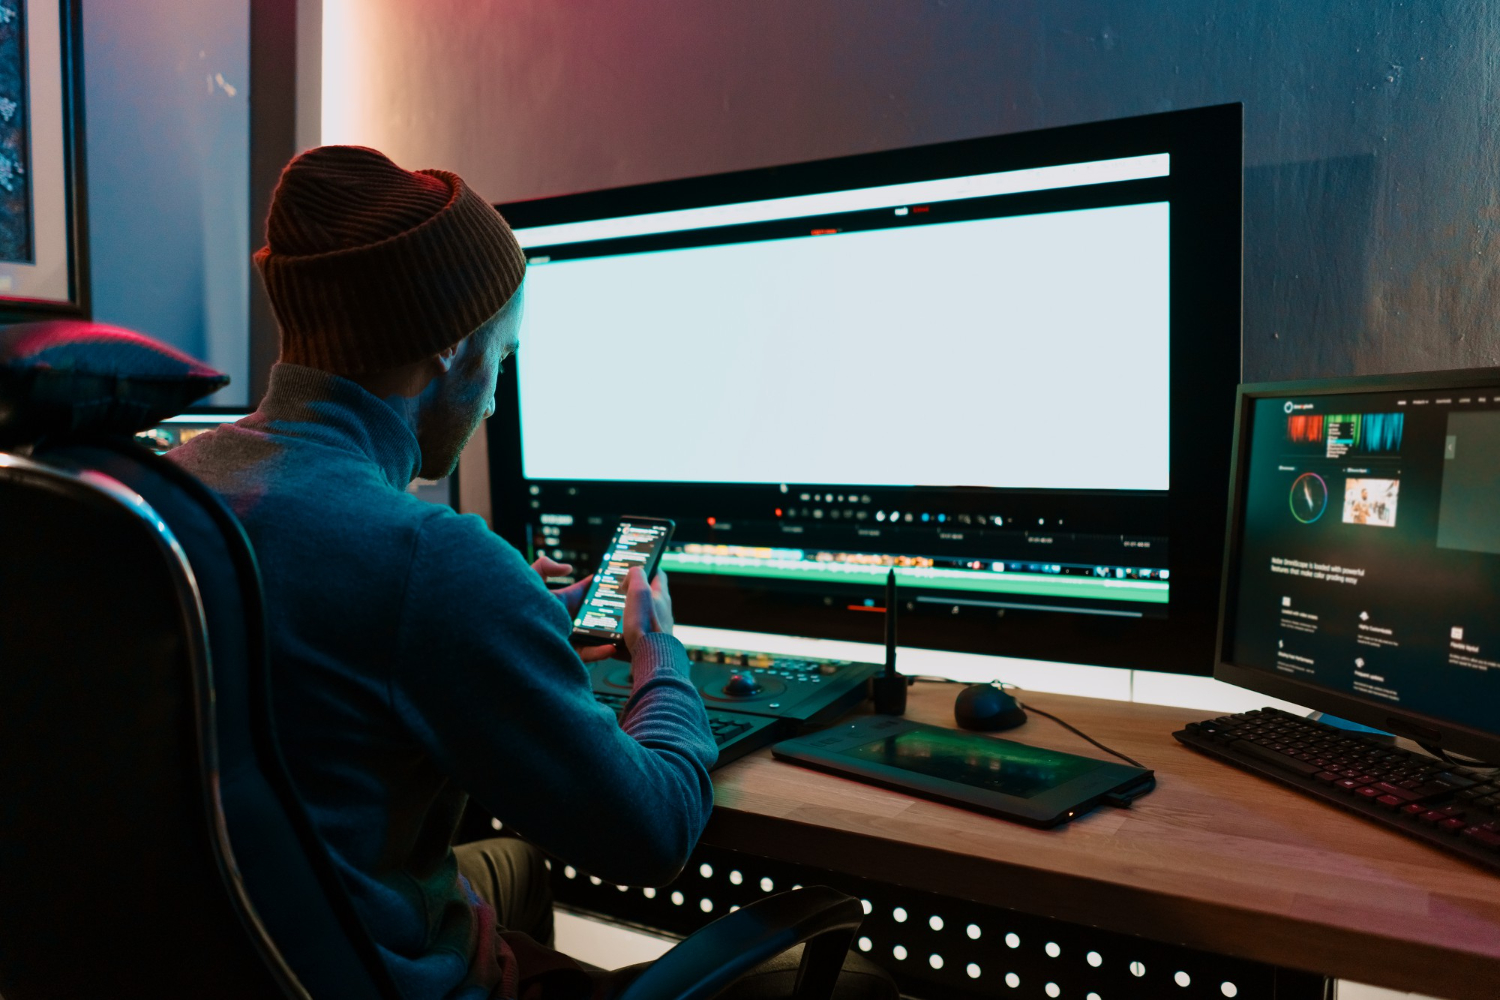
Cinematic video editing transforms raw footage into compelling films with professional color grading, effects, and storytelling tools. The right software provides Hollywood-quality capabilities for filmmakers, YouTubers, and content creators. Here are the best cinematic editing tools for 2026.
What separates a cinematic look from a merely competent edit usually isn’t the camera or even the raw footage, it’s the combination of pacing, color, and sound design applied in post. A scene shot on a mid-range mirrorless camera can read as genuinely cinematic with careful color grading and sound work, while footage from an expensive cinema camera can look flat and amateurish if the edit ignores those fundamentals. The software below covers the full range, from free tools capable of professional results to industry-standard platforms built for feature film pipelines.
Top Cinematic Video Editing Software in 2026
1. DaVinci Resolve
DaVinci Resolve offers Hollywood-grade color grading, editing, VFX, and audio in one free application. The industry standard for color correction with powerful editing capabilities. Its color page uses the same node-based grading system found on the hardware control surfaces used in actual feature film color grading suites, which means skills learned on the free version transfer directly to professional workflows. Resolve’s Fairlight audio page and Fusion visual effects page mean a solo creator can handle color, sound mixing, and basic compositing without ever leaving the application, a genuinely unusual level of integration for a tool that costs nothing to start with.
2. Adobe Premiere Pro
Premiere Pro provides professional editing with seamless Creative Cloud integration. After Effects connection enables advanced VFX workflows. Its Dynamic Link feature lets an editor send a sequence directly to After Effects for compositing work and have changes reflect back in Premiere automatically, without a render-and-reimport cycle, which remains one of the most efficient VFX pipelines available in consumer-accessible software. Premiere’s proxy workflow, editing with lightweight stand-in files that get swapped for full-resolution footage at export, also makes it a practical choice for editors working with demanding 4K or 8K RAW footage on laptops that couldn’t otherwise handle the full file sizes smoothly.
3. Final Cut Pro
Final Cut Pro offers optimized Mac performance with magnetic timeline and powerful organization tools. One-time purchase for Apple users. Its magnetic timeline behaves fundamentally differently from the track-based timelines in Premiere or Resolve, clips automatically ripple and adjust around each other rather than requiring manual track management, which a lot of editors find genuinely faster once they adjust to the different mental model. Combined with Apple Silicon’s hardware acceleration, Final Cut Pro delivers export and rendering speeds that frequently outpace competitors running on comparable hardware, a real practical advantage for editors working under tight deadlines.
4. Avid Media Composer
Avid Media Composer is the film and TV industry standard for feature films and broadcast. Professional collaboration and media management. Its bin-locking and shared storage architecture, built specifically for multiple editors working on the same project simultaneously without overwriting each other’s work, remains the reason large post-production houses and network television shows still standardize on Avid over more consumer-friendly alternatives. The learning curve is real and the interface feels dated compared to Resolve or Premiere, but the underlying media management architecture is why it hasn’t been displaced from professional pipelines despite decades of competition.
5. Adobe After Effects
After Effects creates motion graphics and visual effects that elevate video production. Essential for titles, compositing, and cinematic effects. For cinematic work specifically, After Effects handles the kind of subtle compositing work that separates amateur footage from professional-looking film: sky replacements, lens flares, atmospheric fog effects, and color-matched visual effects elements that need to sit convincingly within live-action footage rather than looking obviously pasted on top of it.
6. Filmora
Filmora provides accessible editing with cinematic effects, LUTs, and motion tracking. Good balance of features and usability for creators. It intentionally trades some of the deeper control found in Resolve or Premiere for a much gentler learning curve and a large library of pre-built cinematic LUTs and effects, which lets a beginner achieve a polished, professional-looking result far faster than starting from scratch in a more technical tool. For creators prioritizing output speed over granular control, that tradeoff is often the right one.
7. HitFilm
HitFilm combines editing with VFX and compositing. Free version includes powerful features for independent filmmakers. Its particular strength is bundling editing and layer-based compositing in one application at a price point, including a genuinely capable free tier, that undercuts the cost of running Premiere and After Effects together, making it a popular choice for independent filmmakers doing effects-heavy short films on a limited budget.
8. Vegas Pro
Vegas Pro offers professional editing with one-time purchase pricing. Strong audio editing and efficient timeline workflow. Its multitrack audio editing capabilities, inherited from its origins as an audio-first tool before video editing was added, remain genuinely stronger than most competing video editors’ built-in audio tools, which matters for a cinematic project where sound design carries as much emotional weight as the visuals.
9. Blender
Blender’s free video editor includes 3D animation, VFX, and compositing. Comprehensive creative tool for independent productions. While its video sequence editor is less polished than dedicated NLEs, Blender’s real advantage for cinematic work is having a full 3D animation and VFX pipeline built into the same free application, letting an independent filmmaker composite CG elements, camera projections, or even full 3D environments without licensing a separate 3D package.
10. Kdenlive
Kdenlive is free, open-source video editing for Linux, Windows, and Mac. Professional features without subscription costs. It has matured considerably over the past several years into a genuinely capable NLE with multi-track editing, keyframeable effects, and proxy editing support, making it a serious option for editors on Linux specifically, a platform historically underserved by professional-grade video editing software.
Color Grading: The Fastest Path to a Cinematic Look
If there’s a single technique that does the most to make an edit read as “cinematic” rather than merely well-shot, it’s deliberate, consistent color grading rather than relying on a camera’s default color science or a one-click filter. A proper grading workflow starts with color correction, neutralizing white balance and exposure issues shot to shot so footage from different times of day or camera settings matches, before moving into color grading, the creative pass that establishes a film’s actual visual identity: warm and desaturated for a gritty drama, cool and high-contrast for a thriller, soft and warm-highlighted for a romantic comedy.
DaVinci Resolve’s color page remains the most powerful tool for this on this list, with node-based grading letting an editor stack corrections, qualifiers that isolate specific colors or areas of the frame, and creative LUTs in a non-destructive chain that stays fully adjustable throughout the process. Premiere Pro’s Lumetri Color panel covers similar ground with a gentler learning curve, sufficient for most YouTube and social content, though it doesn’t match Resolve’s depth for feature-level grading work.
Sound Design Matters More Than Most Editors Budget For
A genuinely common mistake among newer filmmakers is pouring enormous effort into visuals while treating audio as an afterthought handled in the final ten minutes of a project. Professional cinematic sound design layers dialogue, ambient background noise, sound effects, and music into a mix that guides emotional response often more powerfully than the visuals alone, silence deployed deliberately before a jump scare, a swelling score building tension before a reveal, footsteps and room tone establishing a sense of physical space even in a static shot.
DaVinci Resolve’s Fairlight page and Vegas Pro’s audio tools both offer genuinely professional multitrack mixing capabilities without requiring a separate dedicated audio application, which matters for solo creators who can’t justify licensing a full digital audio workstation on top of their video editing software. Even a modest investment in ambient room tone, a properly leveled dialogue track, and a handful of well-chosen sound effects does more for perceived production value than most equivalent time spent on additional visual polish.
Pacing and the Editing Choices Viewers Never Notice
The edits that make a scene feel cinematic are usually the ones an audience never consciously registers, which is precisely why they’re easy to overlook when learning. Cutting on action, timing a cut to land during a character’s movement rather than a static pause, makes transitions feel invisible rather than jarring. J-cuts and L-cuts, where audio from the next or previous scene bleeds across the visual cut, smooth transitions between locations or conversations in a way straight cuts never can. Holding a shot a beat longer than feels comfortable, or cutting away a beat sooner than expected, both manipulate pacing and tension in ways that trained editors do instinctively after years of practice.
None of these techniques require expensive software, they’re editorial decisions available in any NLE from Kdenlive to Avid Media Composer. What separates a cinematic edit from an amateur one is usually the editor’s ear for rhythm and willingness to revise a cut multiple times rather than accepting the first assembly, a discipline that matters considerably more than which specific software button gets pressed.
Hardware and Export Considerations
Cinematic footage, particularly 4K or higher resolution RAW or log-format material shot for extensive color grading, is genuinely demanding on editing hardware in ways that catch newer editors off guard. Real-time playback of multiple layers of high-resolution footage with color correction applied requires either a fast GPU with proxy workflows enabled or, ideally, both, and editing directly with full-resolution camera-original files on modest hardware tends to produce a frustrating, stuttering editing experience regardless of which software is being used.
Export settings deserve equal attention to the edit itself. A cinematic project destined for a film festival submission needs completely different codec, bitrate, and color space settings than the same project trimmed down for a YouTube upload or an Instagram Reel, and getting those wrong, exporting a festival submission at web-streaming bitrates, for instance, undercuts all the careful grading and sound work that preceded it. Checking a specific destination’s actual delivery specifications before the final export avoids re-rendering time and preserves the quality the editing process worked to achieve.
Shooting Log Footage: Why Flat Isn’t a Mistake
Footage straight off a camera set to a log or RAW profile looks deliberately flat, low contrast, desaturated, sometimes almost gray, and new editors often mistake this for a camera problem rather than understanding it as the intended starting point for grading. Log formats capture a much wider dynamic range than a camera’s standard picture profile, preserving detail in both shadows and highlights that would otherwise be clipped, at the cost of footage that looks unfinished straight out of camera.
The grading process is where that captured dynamic range gets shaped into a finished look, applying a camera-specific LUT to get back to a roughly accurate starting point, then building the creative grade from there. Shooting log without a plan to actually grade the footage afterward defeats the purpose entirely and just produces flat, lifeless final video, which is a common and avoidable mistake among filmmakers who adopted log shooting because they’d heard it was “more professional” without understanding the post-production workflow it requires.
Learning Path: What to Focus on First
New editors often try to learn every feature of a professional NLE simultaneously and end up overwhelmed without making real progress on any of it. A more effective sequence starts with basic cuts and pacing, actually assembling a coherent story from raw footage, before touching color grading or effects at all, since pacing and story structure matter more to a viewer’s experience than polish ever will. Once basic editing feels comfortable, color correction, getting footage to look naturally accurate rather than stylized, is the next skill worth focused practice, followed by creative color grading, and finally motion graphics or VFX work if the specific project calls for it.
DaVinci Resolve’s free tier is genuinely the most practical tool to learn on specifically because the same software scales from a beginner’s first project all the way to professional feature film work, meaning skills built early never become obsolete or require relearning in a different tool later. Starting on a simpler, more limited tool like Filmora can get a first project finished faster, but eventually creates a harder transition when a creator’s ambitions outgrow what that software can do.
Frequently Asked Questions
Do I need expensive equipment to achieve a cinematic look? Less than most people assume. Editing technique, particularly color grading and sound design, contributes more to a cinematic feel than camera choice beyond a certain baseline quality. A mid-range camera with thoughtful lighting, composition, and a careful edit will consistently outperform an expensive camera with a rushed, unconsidered post-production process.
Is DaVinci Resolve’s free version actually good enough for professional work? Yes, for the vast majority of projects. The free version lacks a handful of advanced features, certain noise reduction tools, some higher-end codec support, and multi-user collaboration, reserved for DaVinci Resolve Studio, but the core editing, color grading, and audio tools are the same professional-grade tools used in the paid version. Many working editors use the free version exclusively for years before ever needing the paid upgrade.
Which software should a beginner start with, Premiere Pro or DaVinci Resolve? DaVinci Resolve is the more defensible long-term choice since it’s free, professional-grade, and the skills transfer directly to studio-level work. Premiere Pro makes sense specifically if you’re already committed to the Adobe Creative Cloud ecosystem, need tight After Effects integration for heavy motion graphics work, or are working on a team where Premiere is already the established standard.
How long does it realistically take to learn cinematic editing well? Basic proficiency with cutting and simple color correction usually comes within a few months of regular practice on real footage. Genuinely confident, efficient color grading and sound design take considerably longer, often a year or more of consistent project work, since those skills depend heavily on developing a trained eye and ear that only comes from watching, comparing, and revising many finished projects rather than absorbing tutorials passively.
Building an Efficient Project Organization Habit
Cinematic projects, especially anything beyond a short social clip, generate a genuinely large volume of raw footage, multiple takes, B-roll, audio recordings, and reference material, and disorganized media quickly becomes the single biggest time sink in the entire editing process. Establishing a consistent folder structure and naming convention before importing a single clip, rather than sorting things out mid-edit, saves hours of searching later, particularly on longer projects where an editor might return to footage weeks after it was originally shot.
Most of the tools on this list, DaVinci Resolve’s media pool with bins and smart bins in particular, support tagging and metadata that make footage searchable by shot type, location, or subject rather than relying purely on filename or folder location. Investing a little time in tagging footage during the initial import pays off considerably during the assembly and fine cut stages, when quickly finding “that specific shot of the character looking out the window” becomes a genuine bottleneck without it.
Related Video Tools
Cinematic editing is part of a broader video production workflow. Explore screen recording tools for capturing footage, check out live streaming software for real-time broadcasts, and discover video compression tools for optimizing your final exports.
Conclusion
These cinematic editing tools in 2026 enable professional video production at every budget level. DaVinci Resolve offers unmatched free capabilities, while Premiere Pro and Final Cut Pro remain industry standards. Whichever software you choose, remember that the tool itself is rarely the limiting factor; deliberate color grading, attentive sound design, and disciplined pacing decisions in the edit contribute far more to a genuinely cinematic result than any single piece of software ever will on its own.