Best Software for Green Screen Editing in 2026 Professional Tools for Chroma Key Compositing
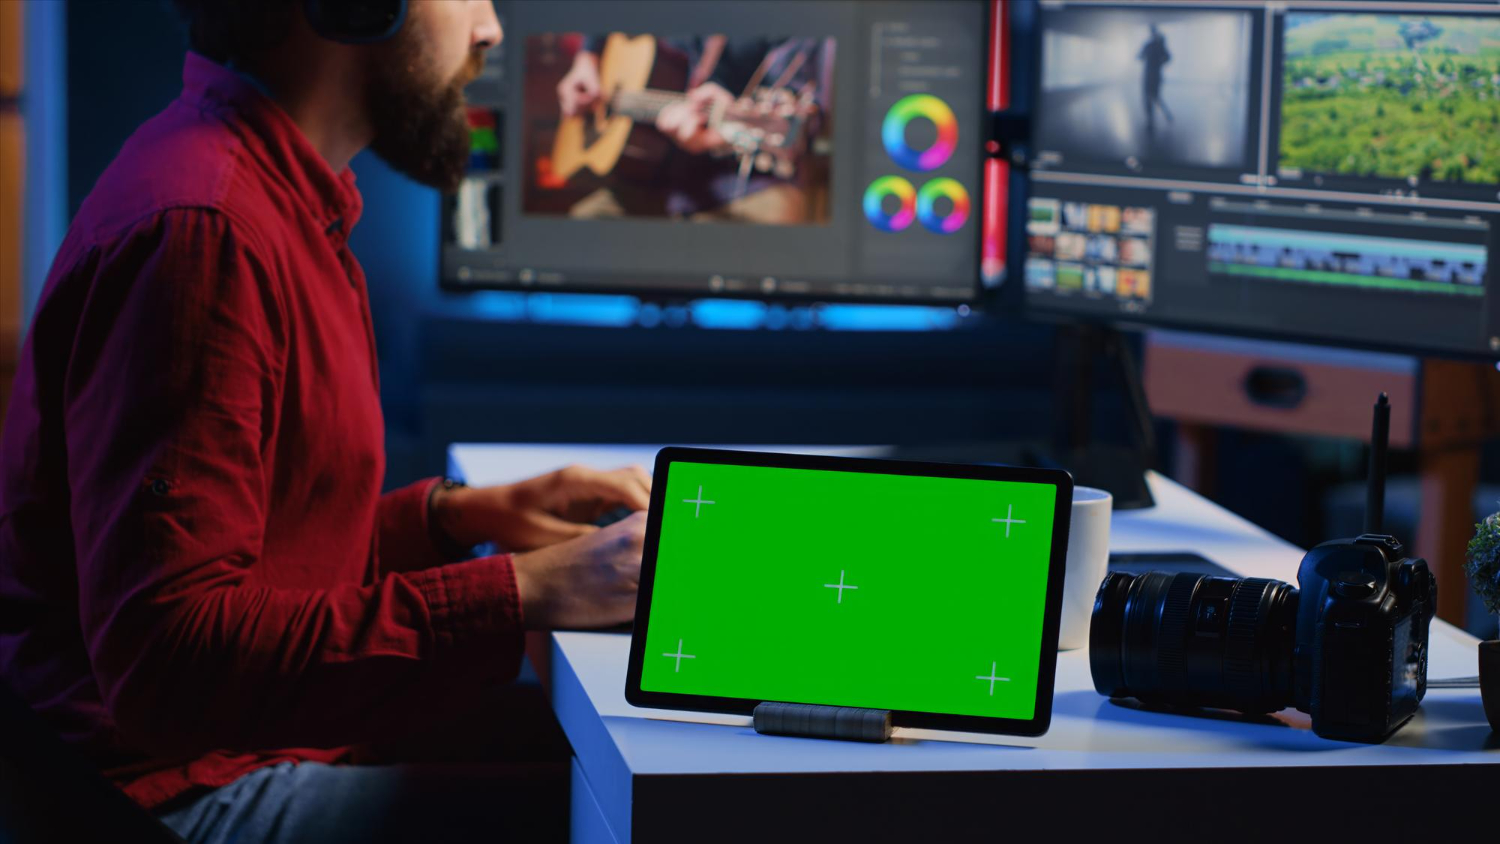
Green screen editing, also known as chroma keying, is a core technique in video production that allows creators to replace backgrounds with any image or video. In 2026, AI-enhanced tools have made this process more accessible than ever, but the fundamentals that separate a clean composite from an amateurish one haven’t changed much in twenty years. Lighting still matters more than software. Fabric choice still matters. And the software you pick determines how much of that hard work you can salvage in post if your setup wasn’t perfect on shoot day.
This guide covers the software worth using in 2026, how chroma keying actually works under the hood, how to set up a green screen that gives your editor something usable, and the mistakes that turn a promising shot into a haze of green fringing around your subject’s hair.
How Chroma Keying Actually Works
At its simplest, a chroma key tool looks at every pixel in your frame and asks: how close is this to the key color? Green (or sometimes blue, for scenes with green props or costumes) is chosen because it sits far from most human skin tones on the color spectrum, which makes it easier to isolate cleanly. The software builds a matte, essentially a black-and-white mask where white means “keep this pixel” and black means “remove it,” then composites your subject over a new background using that matte.
The hard part isn’t the green removal itself. It’s the edges. Hair, motion blur, semi-transparent objects like smoke or glass, and reflective surfaces all create pixels that are part subject, part background color. A good keying engine handles this gracefully with edge feathering and spill suppression. A weak one leaves you with crunchy, aliased edges or a visible green halo that no amount of color correction fully removes.
Top Green Screen Editing Software in 2026
Professional-Grade Options
1. Adobe After Effects
Pros: Industry-standard Keylight plugin, advanced spill suppression, edge refinement tools, motion tracking integration.
Cons: Subscription required, steep learning curve.
Best for: Professional VFX artists and film production.
Keylight has been the default keying tool bundled into After Effects for so long that most compositors don’t even think of it as a plugin anymore, it’s just part of the program. What makes it durable is the amount of control it hands you over screen matte, garbage matte, and spill suppression independently, so you can fix a bad key without starting over. Pair it with the built-in tracker for moving shots and you have a toolkit that handles everything from a static talking-head interview to a handheld action sequence.
2. DaVinci Resolve
Pros: Powerful free version, excellent color-based keying, professional-grade tools, all-in-one editor.
Cons: Resource-intensive, complex interface.
Best for: Filmmakers wanting professional results without subscription costs.
Resolve’s free tier is the reason a lot of independent filmmakers never bother pricing out After Effects. The Fusion page inside Resolve gives you node-based compositing, which takes some getting used to if you’ve only worked in layer-based tools, but once it clicks it’s arguably faster for complex keys because you can branch and combine mattes visually instead of stacking effects. Combine that with Resolve’s color grading tools, which are best-in-class, and you can key, grade, and finish a project without ever leaving the app.
3. Final Cut Pro
Pros: Intuitive keying tools, optimized for Apple Silicon, excellent background removal.
Cons: macOS-only, one-time purchase price.
Best for: Mac users seeking streamlined chroma key workflow.
Final Cut’s keyer is simpler than Keylight or Fusion, and that’s exactly its appeal. Drag the Keyer effect onto a clip, sample the green, and adjust two or three sliders. On Apple Silicon Macs, the render speed on 4K green screen footage is fast enough that you can scrub through a timeline in near real time, which matters a lot when you’re iterating on a key rather than waiting on a progress bar every time you nudge a slider.
Budget-Friendly Options
4. HitFilm
Pros: Free version available, good chroma key tools, VFX capabilities included.
Cons: Some advanced features require payment.
Best for: Independent creators on a budget.
HitFilm built its reputation on giving hobbyist and YouTube creators access to compositing tools that used to require a film school budget. Its chroma key effect isn’t quite as forgiving as Keylight on messy footage, but for well-lit, well-shot green screen clips it produces clean results, and the bundled particle and VFX tools mean you can build out a full sci-fi or action scene around your keyed subject without buying a second piece of software.
5. Kapwing
Pros: Browser-based, AI-powered background removal, no software installation.
Cons: Limited to shorter clips, watermark on free tier.
Best for: Quick background removal for social media content.
Kapwing skips the green screen requirement entirely for a lot of use cases by using AI segmentation to detect a person against any background, not just a chroma key color. It’s not a replacement for a proper keyer on a feature film, but for a quick Instagram Reel or TikTok where you need to drop yourself onto a new backdrop in five minutes from a laptop with no other software installed, it’s genuinely useful.
Other Tools Worth Knowing
A few more options round out the field depending on your platform and budget. OBS Studio is free and open source, and while most people know it as streaming software, its chroma key filter is solid enough for live green screen work during a stream or webinar, applying the key in real time before the feed ever reaches your viewers. Wondershare Filmora targets the same beginner audience as HitFilm with a gentler interface and a built-in library of virtual backgrounds. CyberLink PowerDirector is another consumer-friendly option, particularly on Windows, with a chroma key tool that’s easy to find and use without digging through menus.
Setting Up a Green Screen That Actually Keys Cleanly
Software can only do so much with bad source footage. The single biggest factor in how clean your key turns out isn’t which program you use, it’s how you lit and shot the green screen in the first place.
Fabric vs. Paint vs. Paper
Muslin fabric is the cheapest entry point and works fine for casual use, but it wrinkles easily and wrinkles create uneven lighting, which creates an uneven key. A painted wall or a rigid backdrop holds up better over time and gives you a flatter, more consistent surface. Paper rolls are a middle ground: smooth, cheap to replace when scuffed, but not durable for a permanent studio setup.
Lighting the Screen Evenly
Uneven lighting is the number one cause of bad keys, full stop. Hot spots and shadows on the green screen itself confuse the keyer because it’s now looking at a range of greens instead of one consistent color. Use two lights angled at roughly forty-five degrees to the screen, positioned to cancel out each other’s shadows, and check for hot spots with a waveform monitor or even just your camera’s zebra pattern if your lighting setup allows it.
Distance From the Backdrop
Keep your subject at least six feet from the green screen whenever your space allows it. The closer someone stands to the backdrop, the more green light bounces off it and lands on their skin and clothing, a problem editors call spill. Distance also helps you light your subject independently from the screen, which gives you more creative control and a cleaner separation for the keyer to work with.
Camera Settings That Help
Shoot at the highest bitrate your camera and storage allow. Heavily compressed footage smears fine detail like hair strands into blocky color regions, and no keyer can recover detail that compression has already destroyed. Avoid shallow depth of field around the edges of your subject if you can help it, since a soft, blurred edge between subject and green screen makes for a much harder key than a crisp one.
Choosing the Right Software for Your Situation
If you’re cutting a feature film or client commercial work, After Effects or Resolve’s Fusion page give you the most control when a key doesn’t come out clean on the first try, which happens more often than most tutorials let on. If you’re a solo creator on a budget, HitFilm or Filmora get you most of the way there without a subscription eating into a small production budget. If you’re streaming live and need real-time keying with zero post-production, OBS Studio is free and battle-tested by thousands of streamers. And if you just need a quick background swap for a social clip with no green screen at all, Kapwing’s AI segmentation will save you more time than learning any traditional keyer.
Common Mistakes to Avoid
Green spill on skin and clothing is the most common issue editors run into, and most software includes a dedicated spill suppression control separate from the main key, so look for it instead of just cranking up the key tolerance, which tends to eat into your subject’s edges instead of fixing the spill. Over-keying, where you push the tolerance so high that hair and fine detail start disappearing along with the background, is the second most common mistake. It’s almost always better to under-key slightly and clean up a thin green fringe manually than to over-key and lose detail you can’t get back. Motion blur on fast-moving subjects also trips up keyers that expect a sharp edge, so if your shot involves quick movement, consider a slightly faster shutter speed on the original capture to reduce blur at the boundary.
Virtual Production and the Shrinking Role of Physical Green Screens
It’s worth mentioning where the industry is heading, because it changes how much you should invest in a traditional green screen setup. LED volume stages, the kind popularized by big-budget productions, project the background directly onto a curved wall of LED panels behind the actor instead of keying it in post. The camera captures the real environment lighting and reflections in-camera, which sidesteps spill and edge problems entirely. That technology is still expensive and largely out of reach for solo creators and small studios, but the software tools built for it, like real-time engines rendering backgrounds live, are trickling down into more affordable versions every year.
For the vast majority of creators reading this in 2026, a well-lit fabric or paint green screen paired with one of the tools above remains the practical choice. LED volumes are worth watching, not worth waiting for.
Building a Home Green Screen Setup on a Budget
You don’t need a dedicated studio to get usable results. A collapsible green screen backdrop, a pair of clip lights with softbox diffusers, and a stand to keep the fabric taut and wrinkle-free will get most creators a workable setup in a spare room or corner of an apartment. The order of priority matters: spend on lighting evenness before you spend on a bigger or higher-resolution camera. A crisp 4K image of a badly lit green screen still keys worse than a modest 1080p image of an evenly lit one.
If space is tight, consider a smaller screen sized to your subject rather than a full wall-sized backdrop. Editors only need the area directly behind and around the subject to be clean and evenly lit; the rest of the frame can be cropped or replaced entirely once the key is pulled.
Matching Your Subject to the New Background
A technically perfect key can still look fake if the lighting on your subject doesn’t match the lighting of the background you’re compositing them into. If the new background shows a sunset with warm orange light coming from the left, but your subject was lit flat and neutral from the front, the shot will read as artificial no matter how clean the edges are. Before shooting, look at reference images or footage of your intended background and try to roughly match the direction, color temperature, and intensity of the light falling on your subject. This single step does more for a believable composite than any plugin or AI enhancement applied afterward.
Color grading the final composite as one unified shot, rather than grading the subject and background separately, also helps sell the illusion. A subtle overall color pass that ties the highlights and shadows of both elements together goes a long way toward making a green screen shot feel like it was filmed in one place.
Related Video Tools
Green screen editing is part of a broader video production toolkit. Explore cinematic video editing software for complete post-production, check out video compression tools for optimizing final exports, and discover screen recording software for capturing source footage.
Exporting Keyed Footage Without Losing Quality
Once a key looks clean in your editor’s preview window, the export settings you choose can still wreck it. Compositing work, especially anything with fine edges like hair, benefits from exporting at a higher bitrate than you’d normally use for a straightforward talking-head video with no effects. If your final delivery format requires heavy compression, such as a platform that transcodes uploads automatically, render your master file at the highest quality your software allows and let the platform handle the final compression pass rather than compressing twice yourself.
Alpha channel exports are worth knowing about if you plan to reuse a keyed subject across multiple projects. Instead of baking your subject onto one specific background, you can export the keyed footage with a transparent alpha channel using formats like ProRes 4444 or PNG sequences, then drop that same clip onto different backgrounds later without re-keying from scratch. This is especially useful for creators who reuse the same on-camera segments across several videos with different visual themes.
Frequently Asked Questions
Does the green screen have to be pure green?
No, but it needs to be a consistent, saturated color that doesn’t appear elsewhere in your shot, including on your subject’s clothing or skin. Green is common because it’s far from most skin tones and modern cameras capture it with strong detail thanks to how sensor color filters are weighted. Blue screens work the same way and are sometimes preferred for scenes involving green costumes or props.
Can I get a clean key without professional lighting?
Yes, within limits. A couple of affordable softbox lights and attention to even coverage across the fabric will get you most of the way to a clean key. What you can’t easily fix in post is a screen with visible wrinkles casting shadows, so smoothing or ironing the fabric before a shoot matters as much as the lights themselves.
Why does my subject’s hair still look rough after keying?
Fine hair strands are the hardest thing for any keyer to isolate cleanly because individual strands are often thinner than a single pixel at typical resolutions. Shooting at higher resolution and downscaling in post gives the keyer more data to work with, and most professional tools include a dedicated edge refinement or hair detail control worth exploring before you give up on a shot.
Is AI background removal a replacement for a real green screen?
For casual social content, often yes. For anything involving fine detail, motion, or professional delivery standards, a proper green screen and a dedicated keyer still produce more reliable and controllable results. AI segmentation tools are improving fast, but they can still misread complex backgrounds or fast motion in ways that a well-lit chroma key setup handles more predictably.
Green Screen Tips for 2026
For best results, ensure even lighting on your green screen without shadows. Keep subjects at least 6 feet from the backdrop to minimize green spill. Use proper color correction before applying chroma key for cleaner edges. And whichever tool you land on, shoot a quick test clip and pull a key before committing to a full production day. Five minutes of testing saves hours of frustration trying to rescue unkeyable footage after the fact.